How to Escape Rat Lab
Stage the breakout, beat capture tools, and plan the optional revenge return.
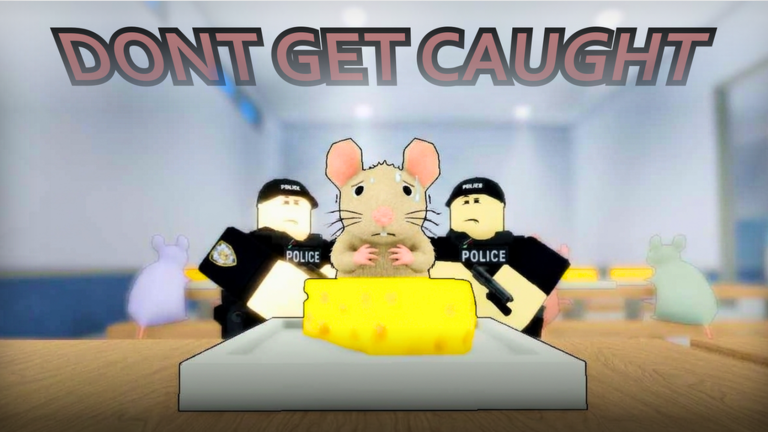
Escaping as a Lab Rat is the core fantasy of Rat Lab. You are not only fleeing a Roblox laboratory—you are racing Security tools that unlock on session timers, dodging scientists’ experiments, and deciding whether the exit is the end or the start of a revenge run. This guide walks the three-stage escape, the exit beat, capture counters, and the travel risk of coming back armed.
If you are brand new, skim Getting Started first. Role identity and loadout context live on Lab Rats and the Roles Tier List. Tool timings that decide whether stage three is free or suicidal sit on Tools & Unlocks.
Escape structure: three stages, then exit
Rat Lab escape play is paced as three stages of progress through the facility, followed by a final exit. Treat each stage as a checkpoint of map knowledge rather than a single button prompt:
- Stage one — break immediate containment. Leave the first holding pattern, learn camera/line-of-sight habits, and avoid early Net/Baton windows (~5 minutes for staff tools).
- Stage two — cross the lab interior. Expect tighter Security presence, scientist traffic, and mid-session tools like Taser, Medkit, and Body Armour (~10 minutes). Vest acquisition matters here if available to your path.
- Stage three — commit to the exit route. Late pressure rises as Pistol (~15m), Rifles (~22m), Mouse Trap (~25m), and Shotguns/Turret (~30m) come online. Hesitation in open halls is how snipers delete non-vest rats.
Clearing stage three and the exit earns the breakout fantasy and lines up badges such as Through the Wall and Out of the Lab. Exact geometry shifts with updates—re-check Updates after patches—but the staged mindset stays stable.
Capture tools you must respect
Security’s job is to stop you; see Security Guide and Security. Practical escape notes:
- Net / Baton (early): lose time and positioning; do not tunnel on loot while they are freshly unlocked.
- Taser / stronger control (mid): breaks momentum between stages; path through cover.
- Firearms (mid–late): pistols and rifles punish straight corridors.
- Sniper: can one-shot non-vest rats—acquire vest value (+50 HP on vest rats) or never peek long sightlines.
- Mouse Trap / Turret / Shotguns: late denial tools; if the session is 25–30+ minutes old, expect locked lanes.
Scientists are not “safe NPCs.” Mutation play and experiments can still ruin a quiet flank—read Scientist Guide and Mutations so you recognize threats that are not wearing Security kits.
Vest vs non-vest survival
Vest rats effectively gain about +50 HP. That single fact changes peek math against Security. Without a vest, treat snipers and coordinated rifle fire as lethal. With a vest, you still die to focused fire—you only buy mistakes. Escape routes that force long sightlines are non-vest traps; prefer broken LOS even if the path is longer.
Optional revenge loop (and why travel hurts)
After a successful exit, Rat Lab lets you return for revenge with weapons. That loop is optional and is where many escapes throw their win:
- Travel risk: re-entering means crossing Security’s now-alert routes with session guns unlocked.
- Loadout timing: revenge without waiting for meaningful weapons wastes the exit advantage; waiting too long faces OP-tier defenses and tired teammates.
- Objective clarity: revenge is for disruption, badge hunting (for example capture-adjacent chaos that still risks Caught One on you), and fun—not a required clear condition.
Coordinate with friends when possible. Solo revenge into a stacked Security team after minute thirty is how highlight clips of you getting deleted are born.
Session timer strategy for rats
Because unlocks reset every session (unless Forever gamepasses), early sessions favor aggressive stage pushes before rifles. Late sessions favor stealth, vest play, and knowing when to abort. Paid shortcuts like Stronger Bite (R$75) or Forever unlocks change pace but do not replace route knowledge. Compare tool priority on the Tools Tier List.
Badge and progress targets
While escaping, watch for Test Subject, Through the Wall, Out of the Lab, and related progress badges. For Science / New Specimen lean science; Caught One is the Security fantasy you are trying to deny. Use badges as milestones, not as reasons to take sniper peeks.
Codes note while you grind escapes
There are still no confirmed promo codes for free escape boosts. Ignore fake code lists. Mutation Index colour codes do not redeem Robux gifts—see Codes, How to Redeem, and Mutations.
Practice plan
- Run two sessions focused only on stages one–two without forcing exit.
- Run one session dedicated to exit timing before minute twenty.
- Attempt one revenge return with a clear weapon plan; stop if Security has turret/shotgun coverage.
- Review deaths: was it Net early, sniper mid, or revenge travel?
- Cross-read Security Guide so you predict patrol habits.
Related pages
- Getting Started — first-hour foundation
- Tools & Unlocks — timer table and gamepasses
- Lab Rats — role identity
- Guides Hub — all walkthroughs
- Tier List — ranked roles and tools
Master the three stages, respect vest math, and treat revenge as a second mini-game. Escaping Rat Lab is map literacy plus timer literacy—not a single hidden door myth.
Frequently Asked Questions
Quick answers for Rat Lab players.
How many stages are in a Rat Lab escape?
Escape progress is structured as three stages, then an exit. After exiting you may optionally return for revenge with weapons.
Can Security one-shot escaping rats?
A sniper can one-shot non-vest rats. Vest rats have about +50 HP and survive more punishment but are not immortal.
Should I always return for revenge after escaping?
No. Revenge is optional and travel back into an armed lab is risky—especially after mid- and late-session unlocks.
When is the best time to escape in a session?
Earlier sessions are often easier before rifles, traps, and turrets unlock. Late sessions demand better routes and vest play.
Do escape tools reset next time I play?
Session-based unlocks reset each session unless you own Forever gamepasses. Plan each match’s timing from scratch.